

"These LUTs have completely transformed my footage. Absolutely stunning results!"

"So easy to use and the impact is immediate. Highly recommend these LUTs to any videographer."
"Incredible! My videos have never looked better. A game-changer for my projects."

"I'm blown away by the quality and versatility of these LUTs. Perfect for my travel vlogs!"
"A must-have for any video editor. The color grading possibilities are endless."
"These LUTs helped me achieve the cinematic look I was going for. Simply amazing!"


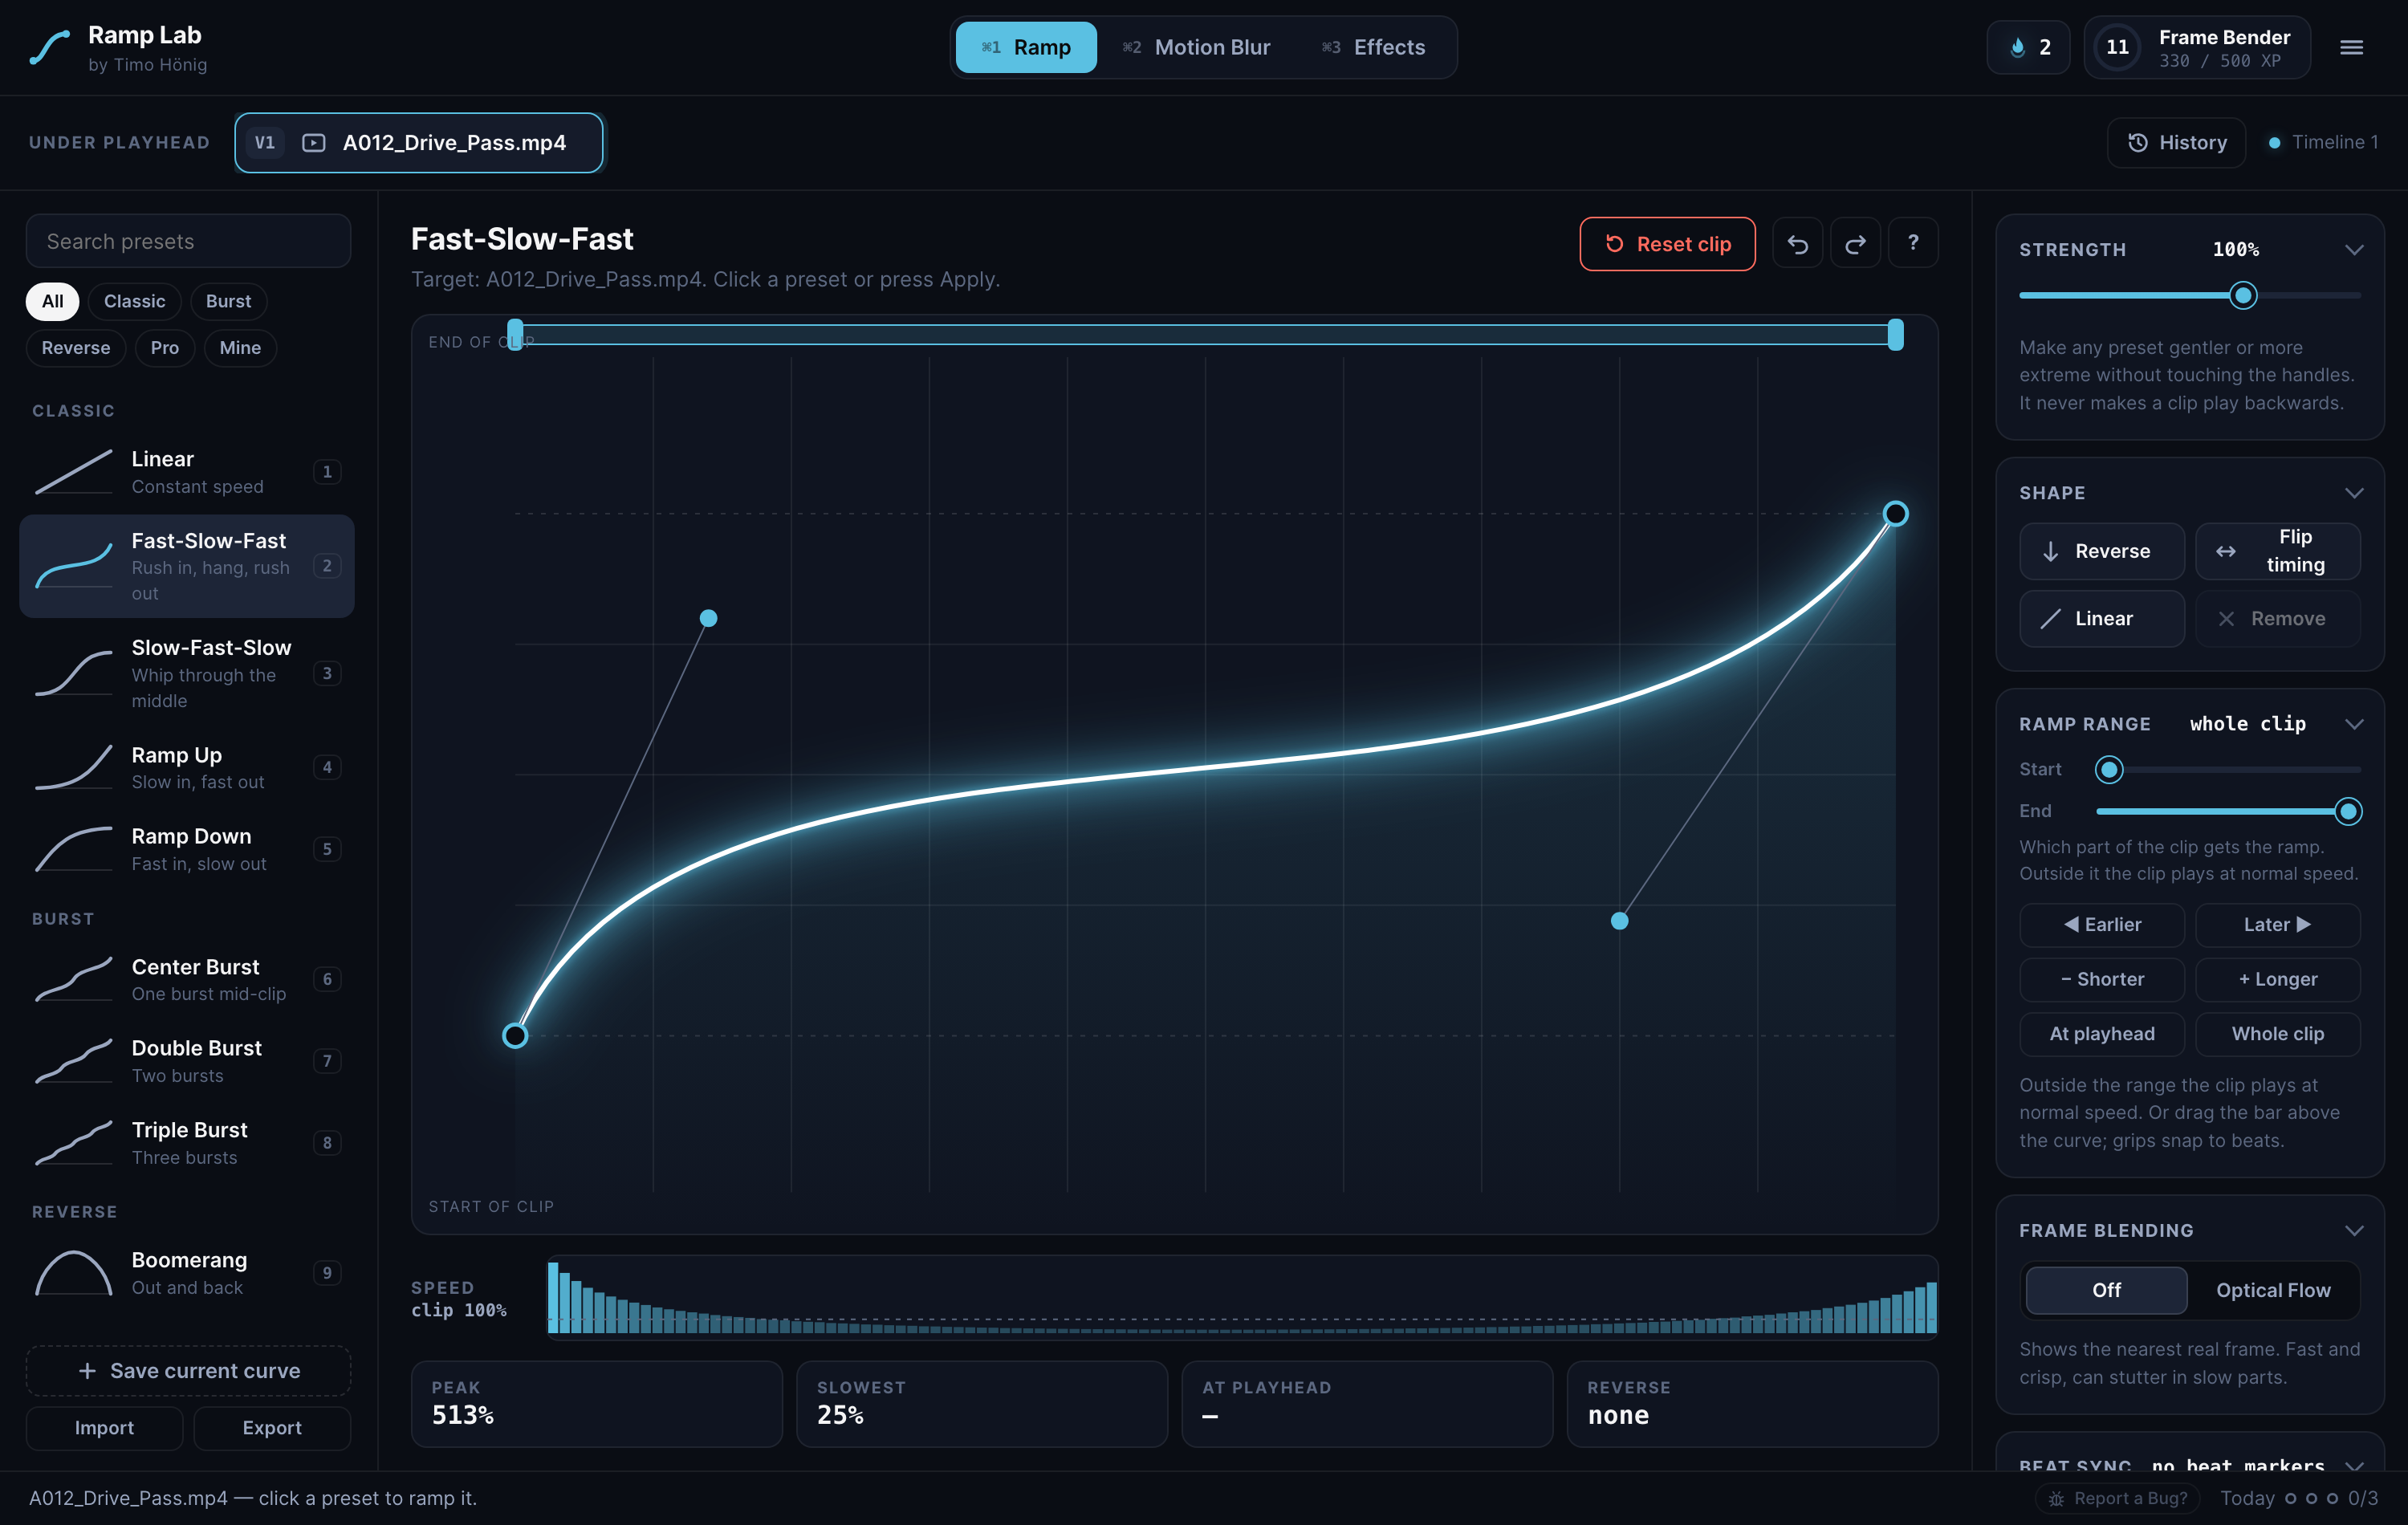
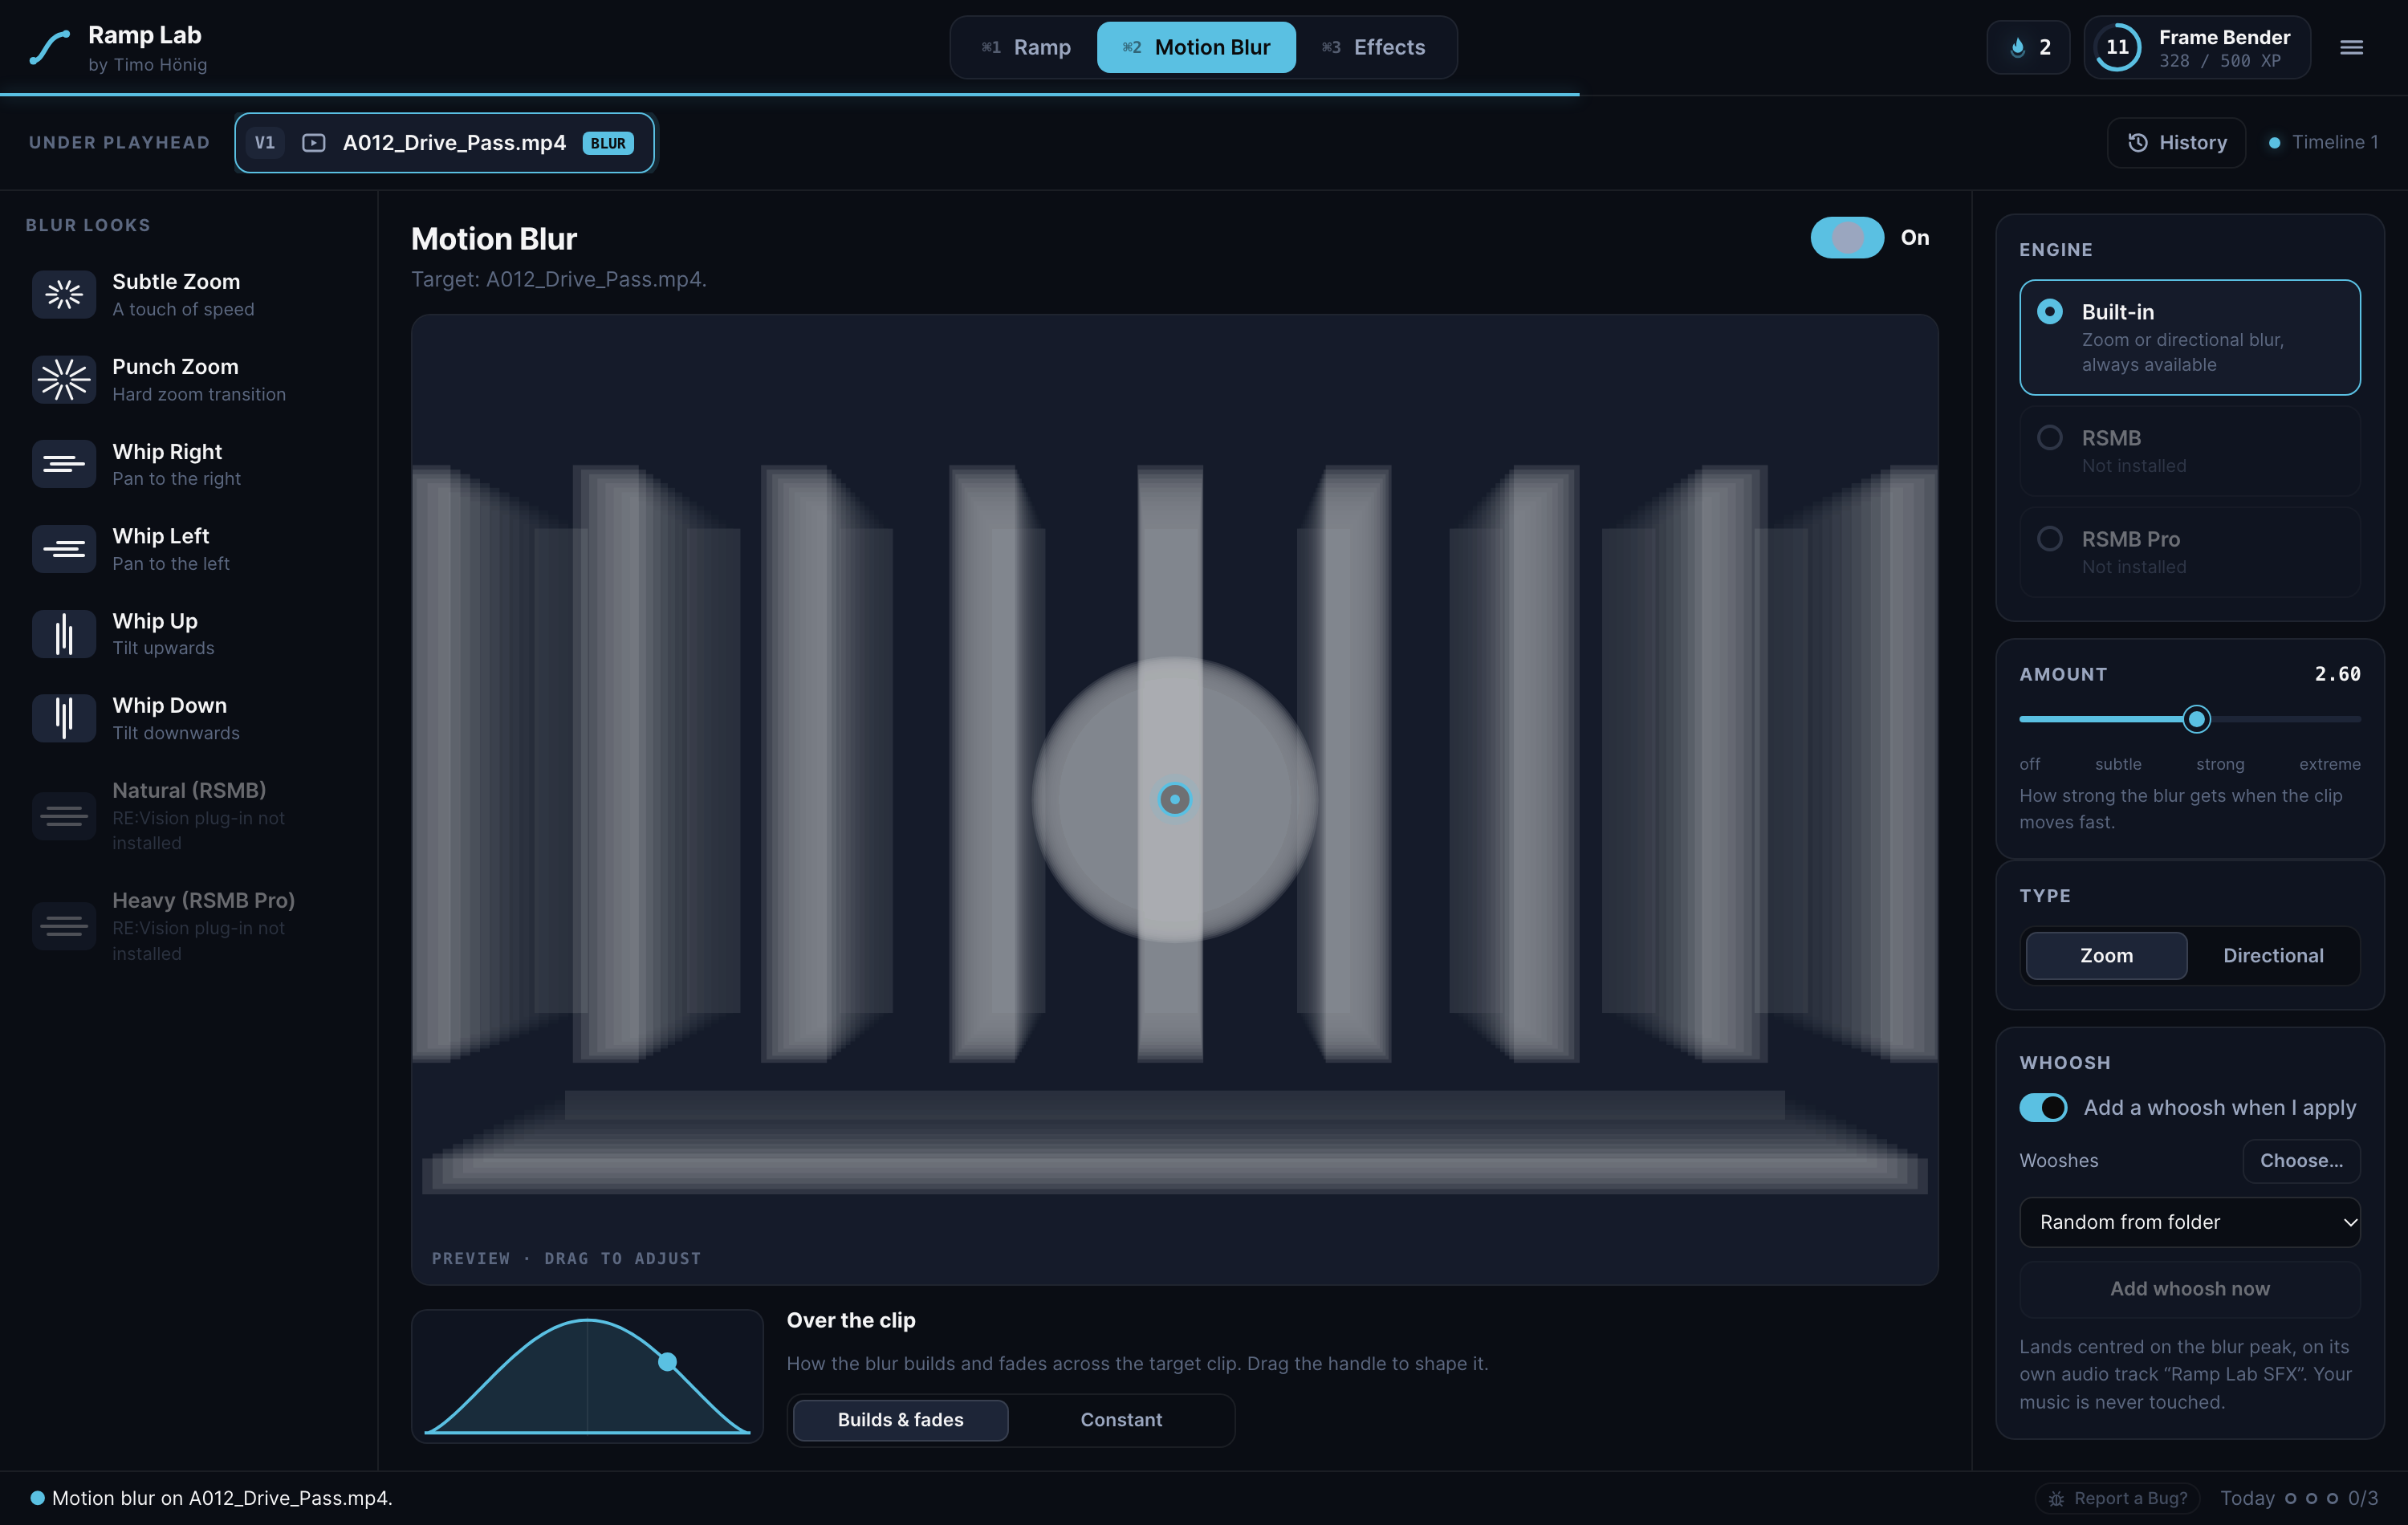
Ramp Lab turns speed ramping into a visual curve editor right next to your timeline. Pick a preset, shape the curve, done – with motion blur, effects and beat sync built in.
Pick one, done.
Drag the curve, not keyframes.
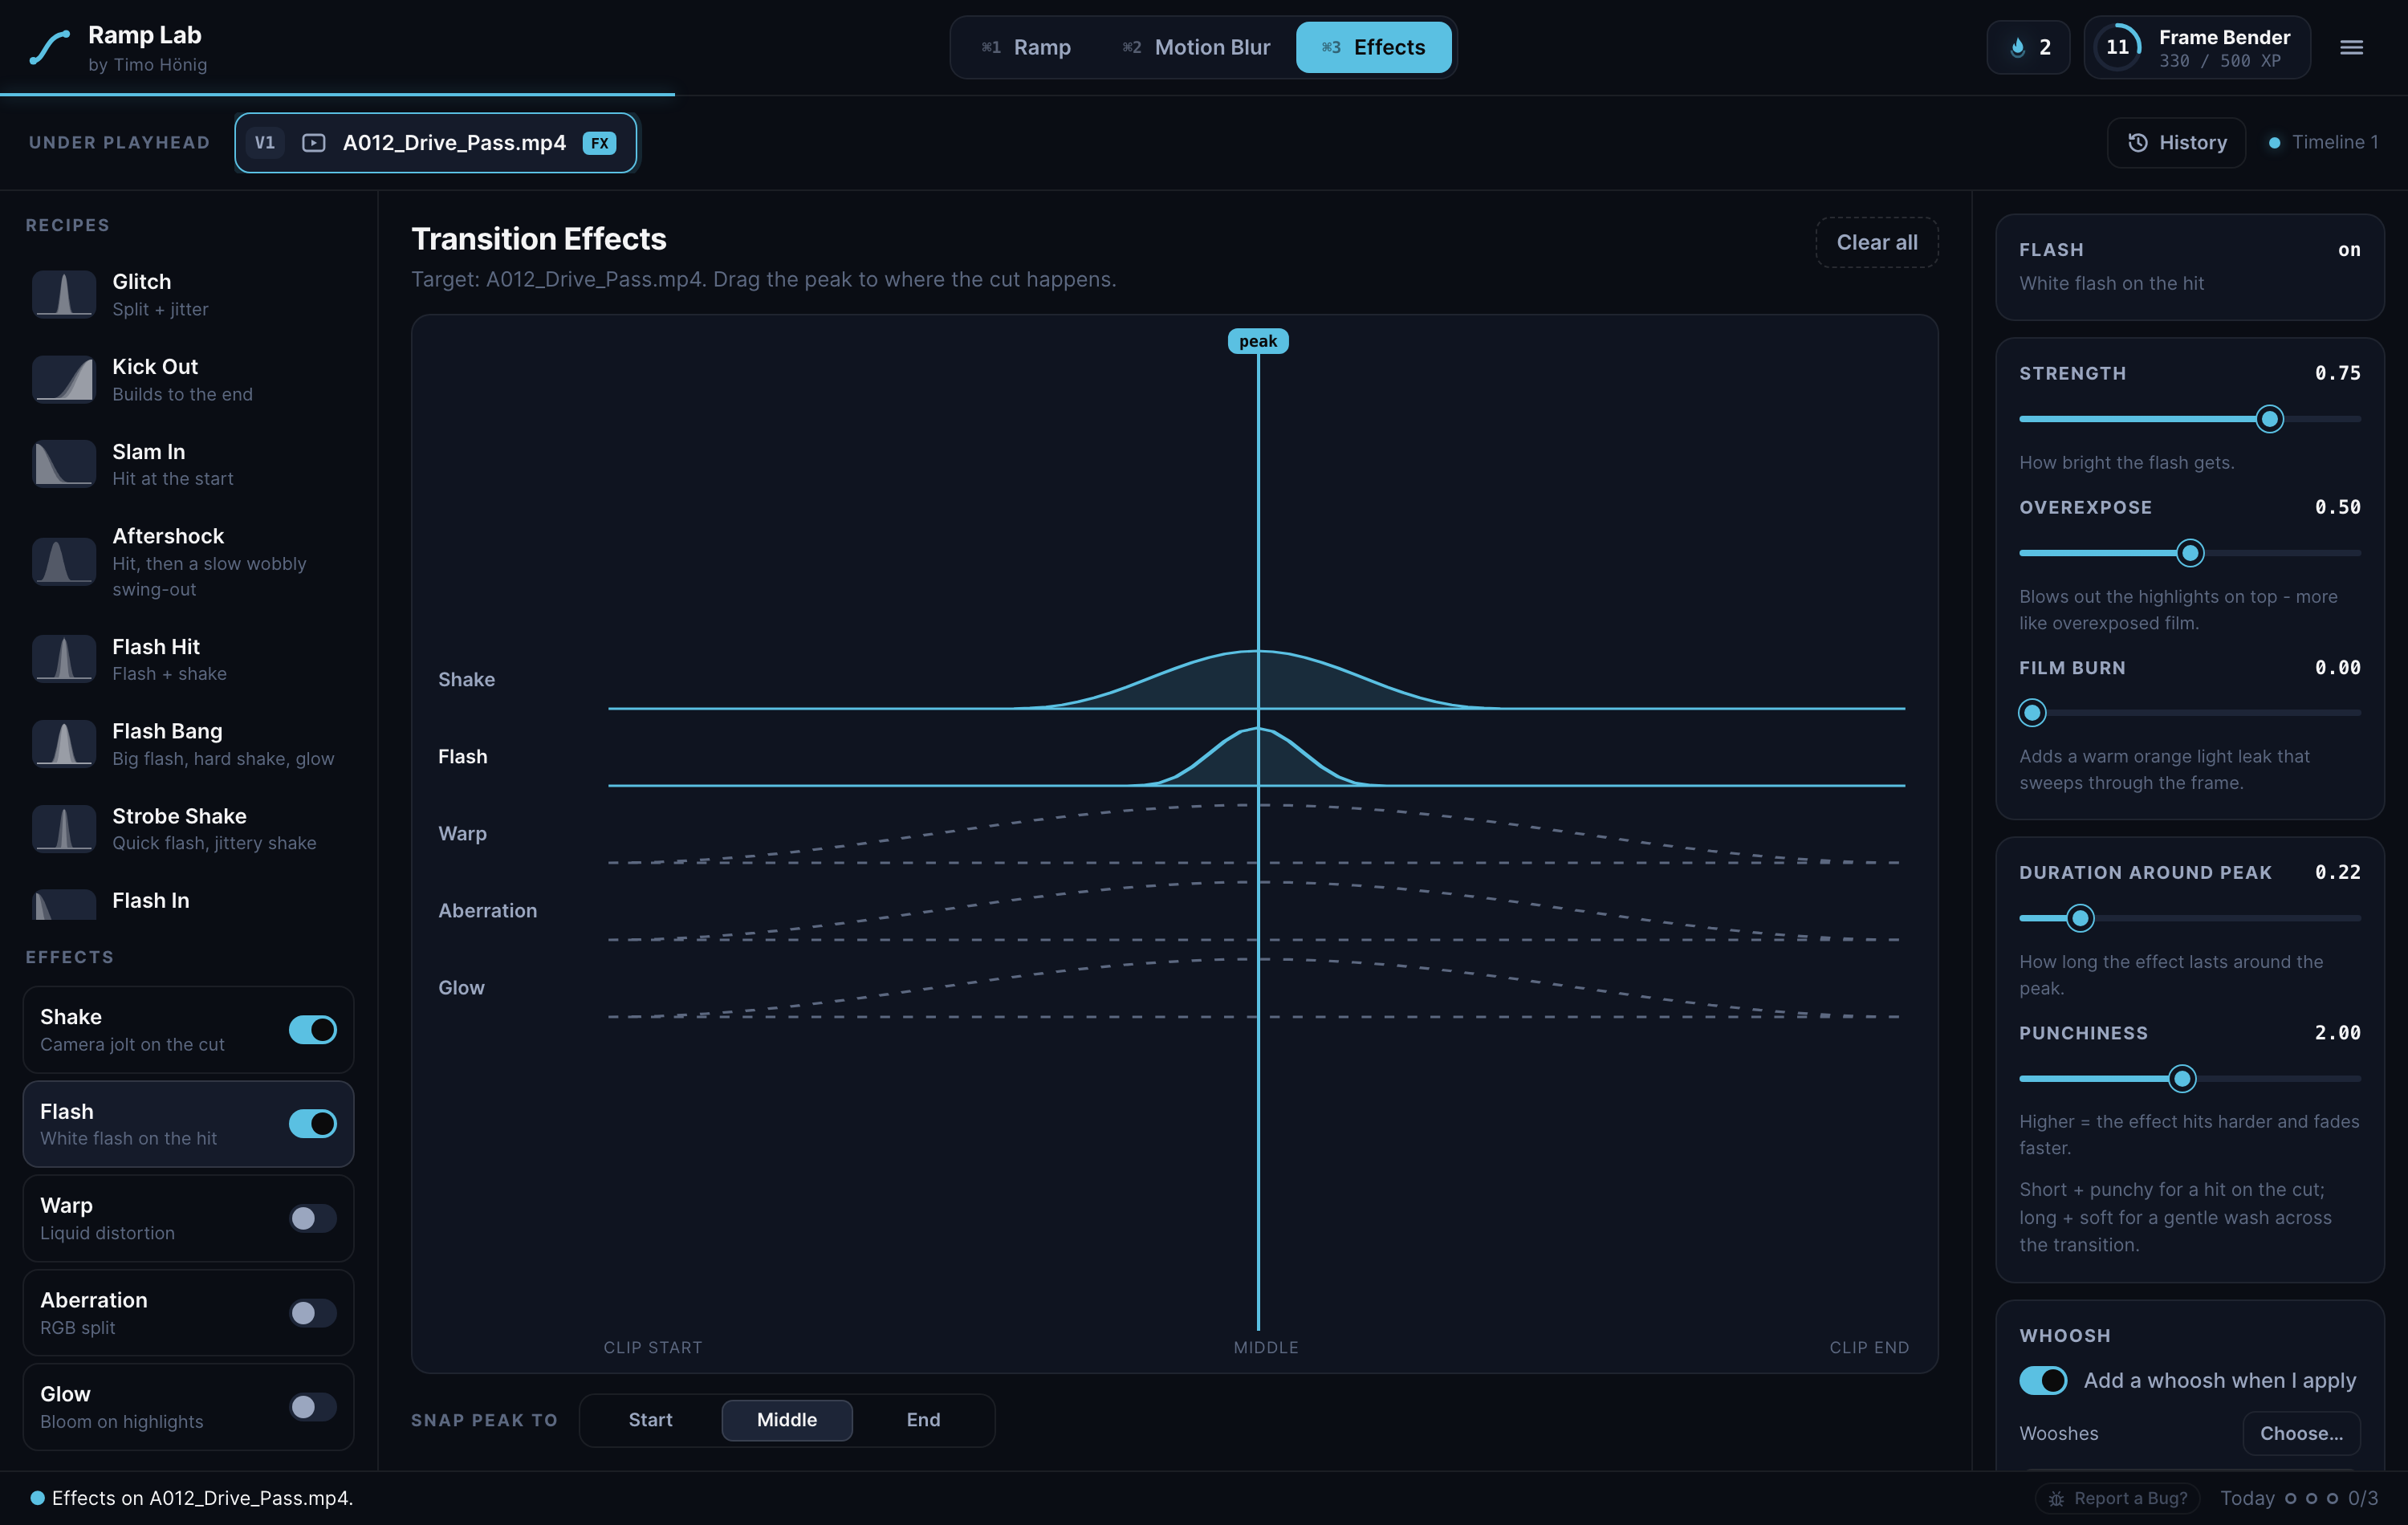
Cuts and peaks land on the beat.
Ramp a whole sequence at once.
Blur, Shake, Flash, Glow and more.
Sound hits right on the peak.
Steady the shot with a Tracker on the Fusion page.
Pick a preset, shape the curve, add blur, effects and a whoosh.
Colour last, on the finished, re-timed clip.
Yes. Ramp Lab is a Workflow Integration plugin, and those only run in DaVinci Resolve Studio 21.1 or later – not in the free version.
Not yet. Ramp Lab currently runs on macOS. A Windows version is planned.
One license works on up to 2 Macs at the same time. Moving to a new Mac? Deactivate it on the old one with one click.
Yes. Updates install automatically inside Ramp Lab – no new download needed.
You get an email with your license key and the download links for the installer, the setup guide and the user guide.
Ramp Lab is delivered immediately, so you agree at checkout that the right of withdrawal ends with delivery. If Ramp Lab doesn’t work on your system, write to office@timohoenig.com – your statutory warranty rights remain unaffected.
DaVinci Resolve and Fusion are trademarks of Blackmagic Design Pty. Ltd. ReelSmart Motion Blur (RSMB) is a trademark of RE:Vision Effects, Inc. Ramp Lab is an independent product and is not affiliated with, endorsed or sponsored by Blackmagic Design or RE:Vision Effects.
Price incl. 20% VAT · Businesses with an EU VAT ID: reverse charge at checkout
Find answers to downloads, refunds and other general questions.
Once your checkout is completed and the order is successfully paid you will find a download link on the confirmation page. In addition we will send an email to you right after your purchase.
Please check your mail service (make sure to look into spam as well). Once you checked out and paid for the product, the delivery is handled automatically. If you still can't find anything, please contact us and have your order confirmation available.
Digital products are excluded from exchange and return.
A LUT (Lookup Table) is a mathematical formula that transforms the color of a source image to new parameters in the resulting image. LUTs can be technical, such as transforming one color space to another or for calibrating a monitor, or they can be creative, such as giving your video a specific look or emulating a certain film stock.My LUTs are designed transform the color grade (look) of your videos after the primary color correction. Since LUTs apply the same color transformation regardless of the source footage, it is important to note that a LUT is not a one-click-and-you're-done solution. If the source shots do not match each other before the LUT, they will still not match after you apply the LUT.
Please watch my LUT Installation Guide where I explain how to install and use my LUTs in Premiere Pro.
My creative LUTs were designed to work withany camera recording in a Natural / Neutral / Rec.709 profile. If you shoot in a LOG profile, my LUTs have to be applied after the primary color correction.
Our LUTs are compatible with any program that supports .CUBE files. This includes Adobe Premiere Pro, Adobe After Effects, Adobe Photoshop, Adobe SpeedGrade, DaVinci Resolve, Final Cut Pro X, Avid Media Composer, Sony Vegas, Edius, Assimilate Scratch, Filmora, Capture One, VideoLUT (iOS), LumaFusion (iOS), and more.
My LUTs are for creative color grading and should be applied after the primary color correction. Therefore you should first apply a conversion LUT to your LOG footage or manually color correct it in order to achieve the best results. Watch my LUT Installation Guide in order to see how my LUTs are properly used.
No it's not necessary. You can shoot in RAW, do the basic image balance and then apply a look LUT from my pack. The advantage of RAW is to have more flexibility on color correction before/after applying a LUT.
No, I purposely did not include conversion LUTs in my packs as they are specific to your camera type and picture profile. In most cases you can download conversion LUTs on your camera manufacturer's website for free.
No, I purposely did not include conversion LUTs in my packs as they are specific to your camera type and picture profile. In most cases you can download conversion LUTs on your camera manufacturer's website for free.
Digital products are excluded from exchange and return.
Yes, as long as you use a photo editing software that supports 3D LUTs, such as Adobe Photoshop CC, my LUTs are compatible. They are not compatible with Adobe Lightroom.Because my LUTs are optimised to avoid artifacting on video footage, you may find them to be a bit subtle when applied to photos. In this case, you’ll simply want to dial up the intensity until the desired color grade is reached.
Yes, my LUTs work on any operating system.
Every piece of footage is unique in its own way and features different primary colors, contrasts and tone saturations depending on various factors like the time you shot (daylight, cloudy sky, sunset, night time) and the subject you filmed.I rigorously tested each LUT on as many different cameras, scenes, lighting, and colors as possible so that they work in a wide variety of footage. As soon as you start using my LUTs you will quickly find out which LUT looks the best on which clip.


